User guide
Your quick-start guide.
Everything you need to go from sign-up to a feed that quietly looks after itself — set up your voice, approve a few posts, connect Instagram. Read it through, or jump straight to the bit you need.
Getting started
Set up your voice
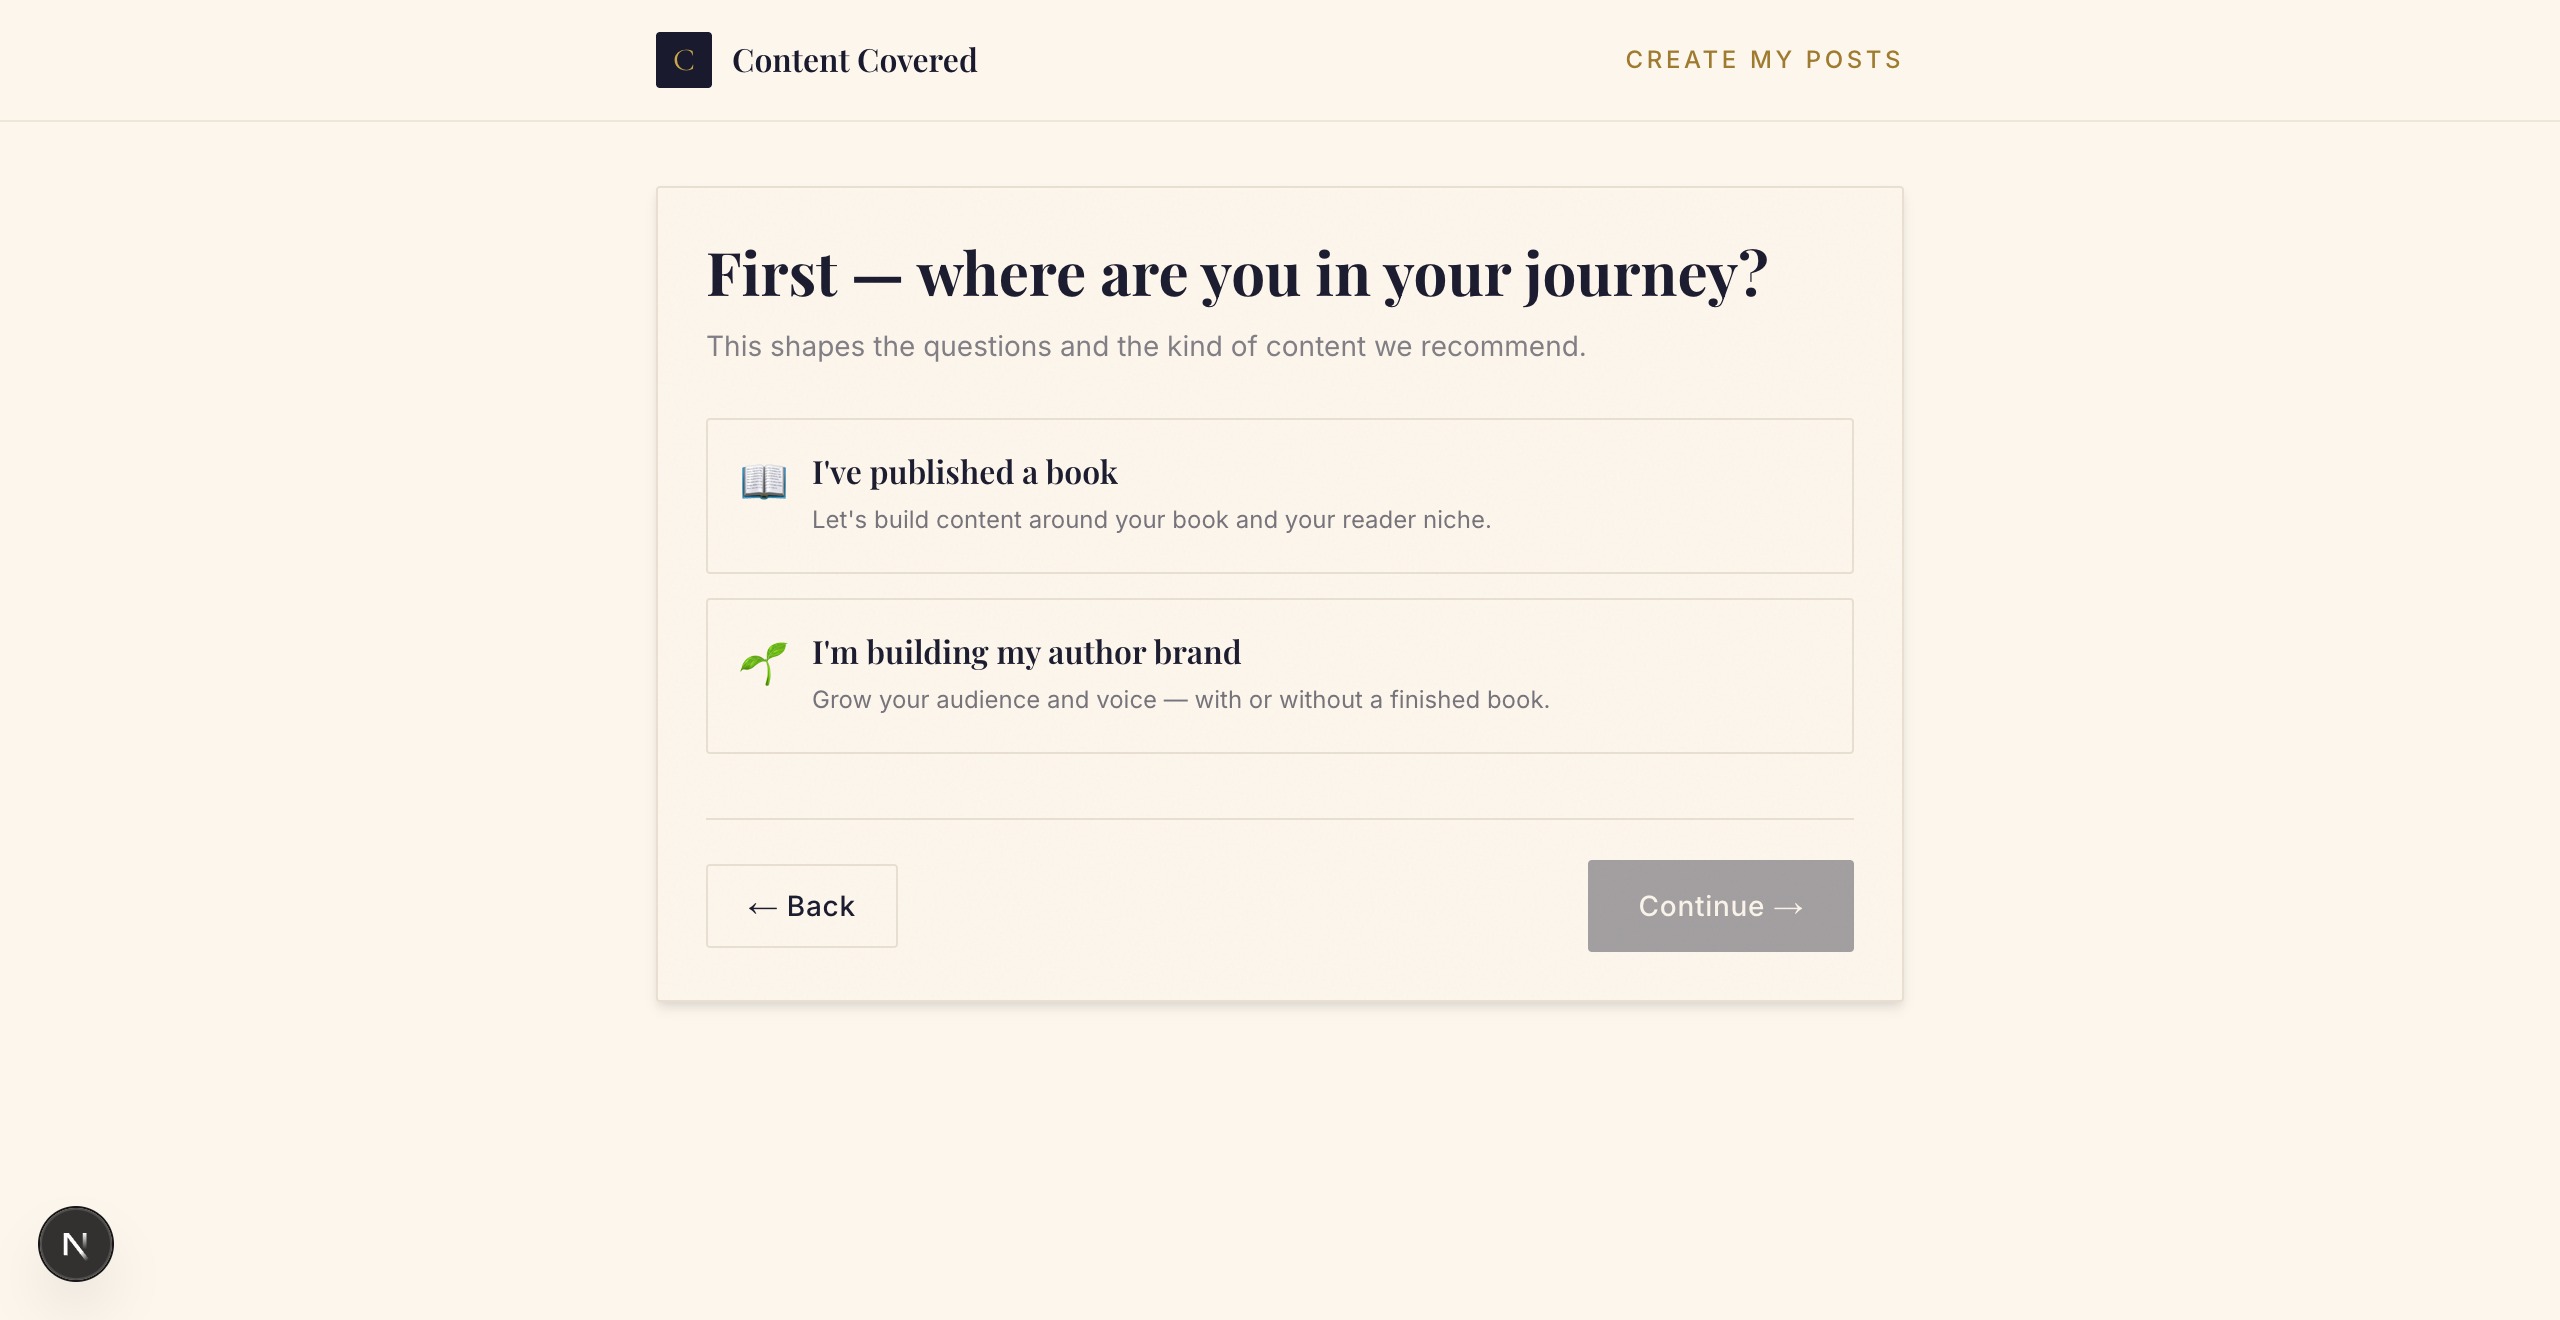
A few minutes is all it takes. From the homepage, tap “Handle my socials”, then answer a handful of quick questions.
Here's what it asks for:
- Where you are — published, writing a book, or just building your author brand.
- Your book basics — title, genre, a couple of tropes, and your blurb. Pasting a short writing sample sharpens your voice even more.
- Your vibe— slide between warm/witty, calm/dramatic, and casual/polished, and say whether you'd like emoji.
- Your comfort — faceless content (on by default), your platforms, and how often you want to post.
It then reads everything back to you as a quick voice analysis and suggests a set of post ideas. Tick the ones you love and it writes the actual posts for you.
Want it to sound even more like you? The optional Deep Dive(from your Dashboard, “Deepen my voice”) is a short interview that lifts your voice-completeness score — the higher it is, the less editing you'll do.
Your home base
Your dashboard
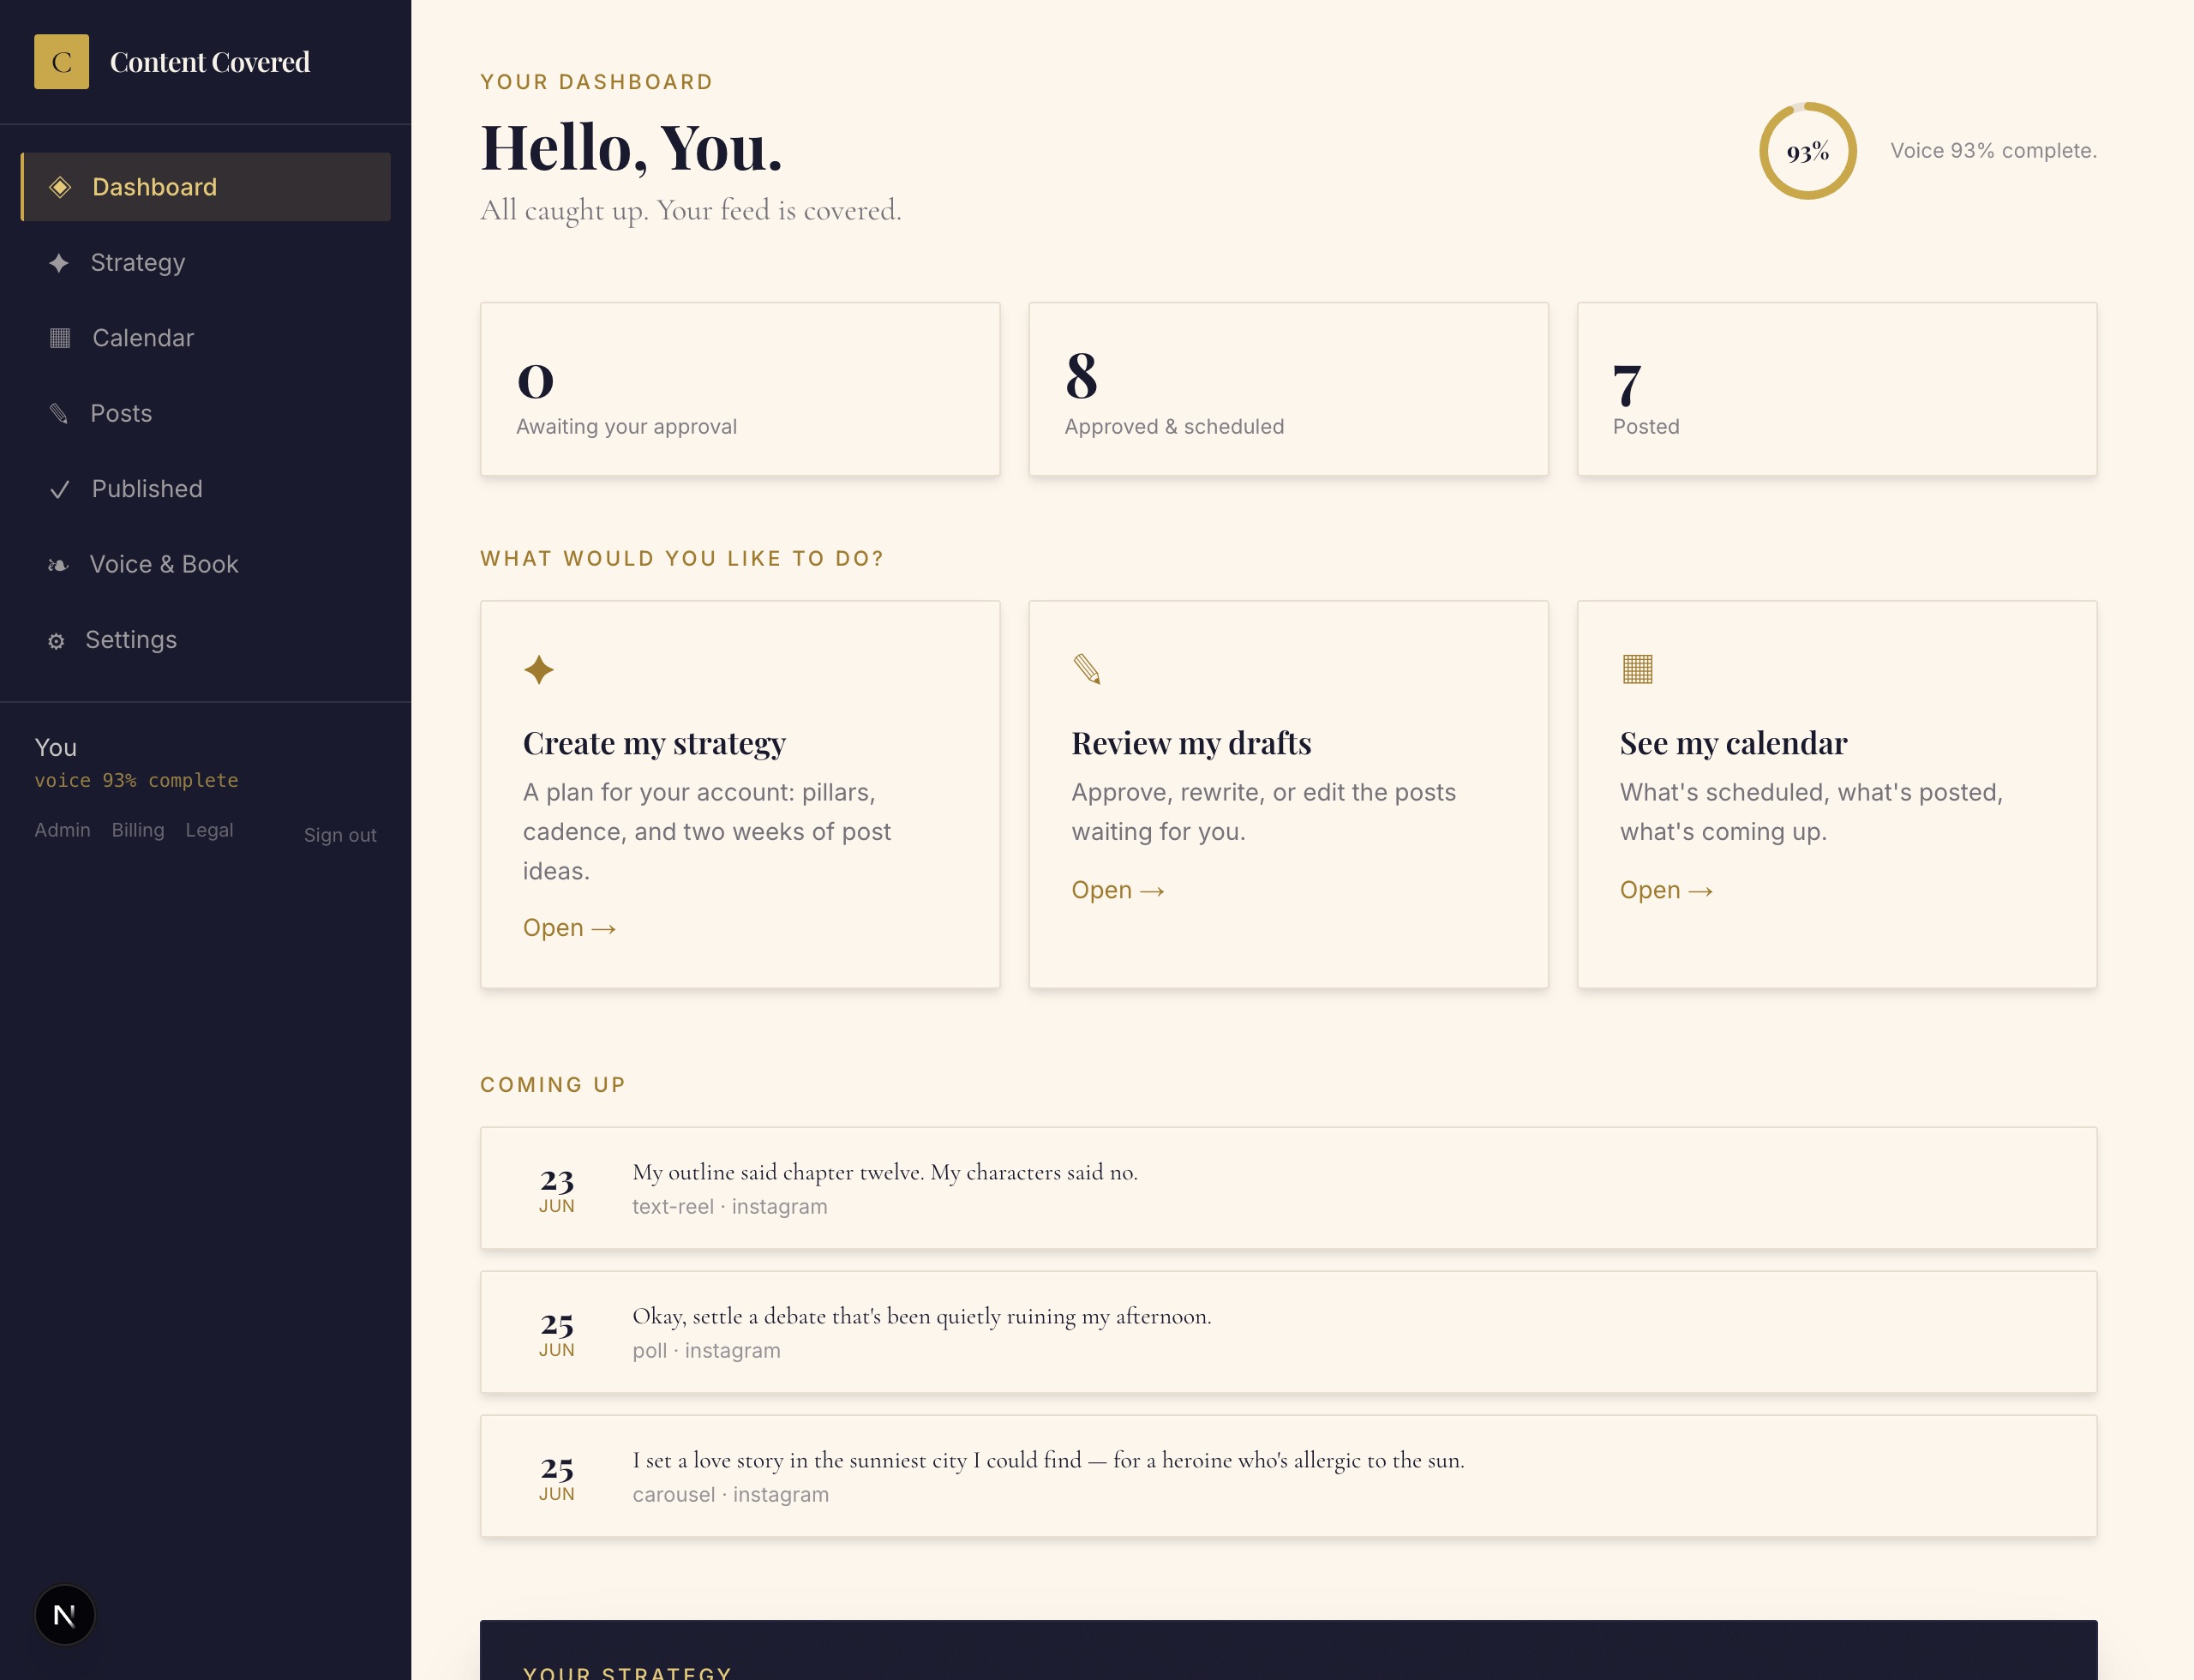
Once you're set up, the dashboard is where everything starts. It tells you what needs you and what doesn't.
- The three counters — awaiting your approval, approved & scheduled, and posted — show your whole pipeline. Tap any one to jump straight to it.
- “What would you like to do?” gives you one-tap shortcuts to your strategy, your drafts, and your calendar.
- “Coming up” lists your next scheduled posts, and the ring shows how complete your voice profile is.
The plan
Your strategy
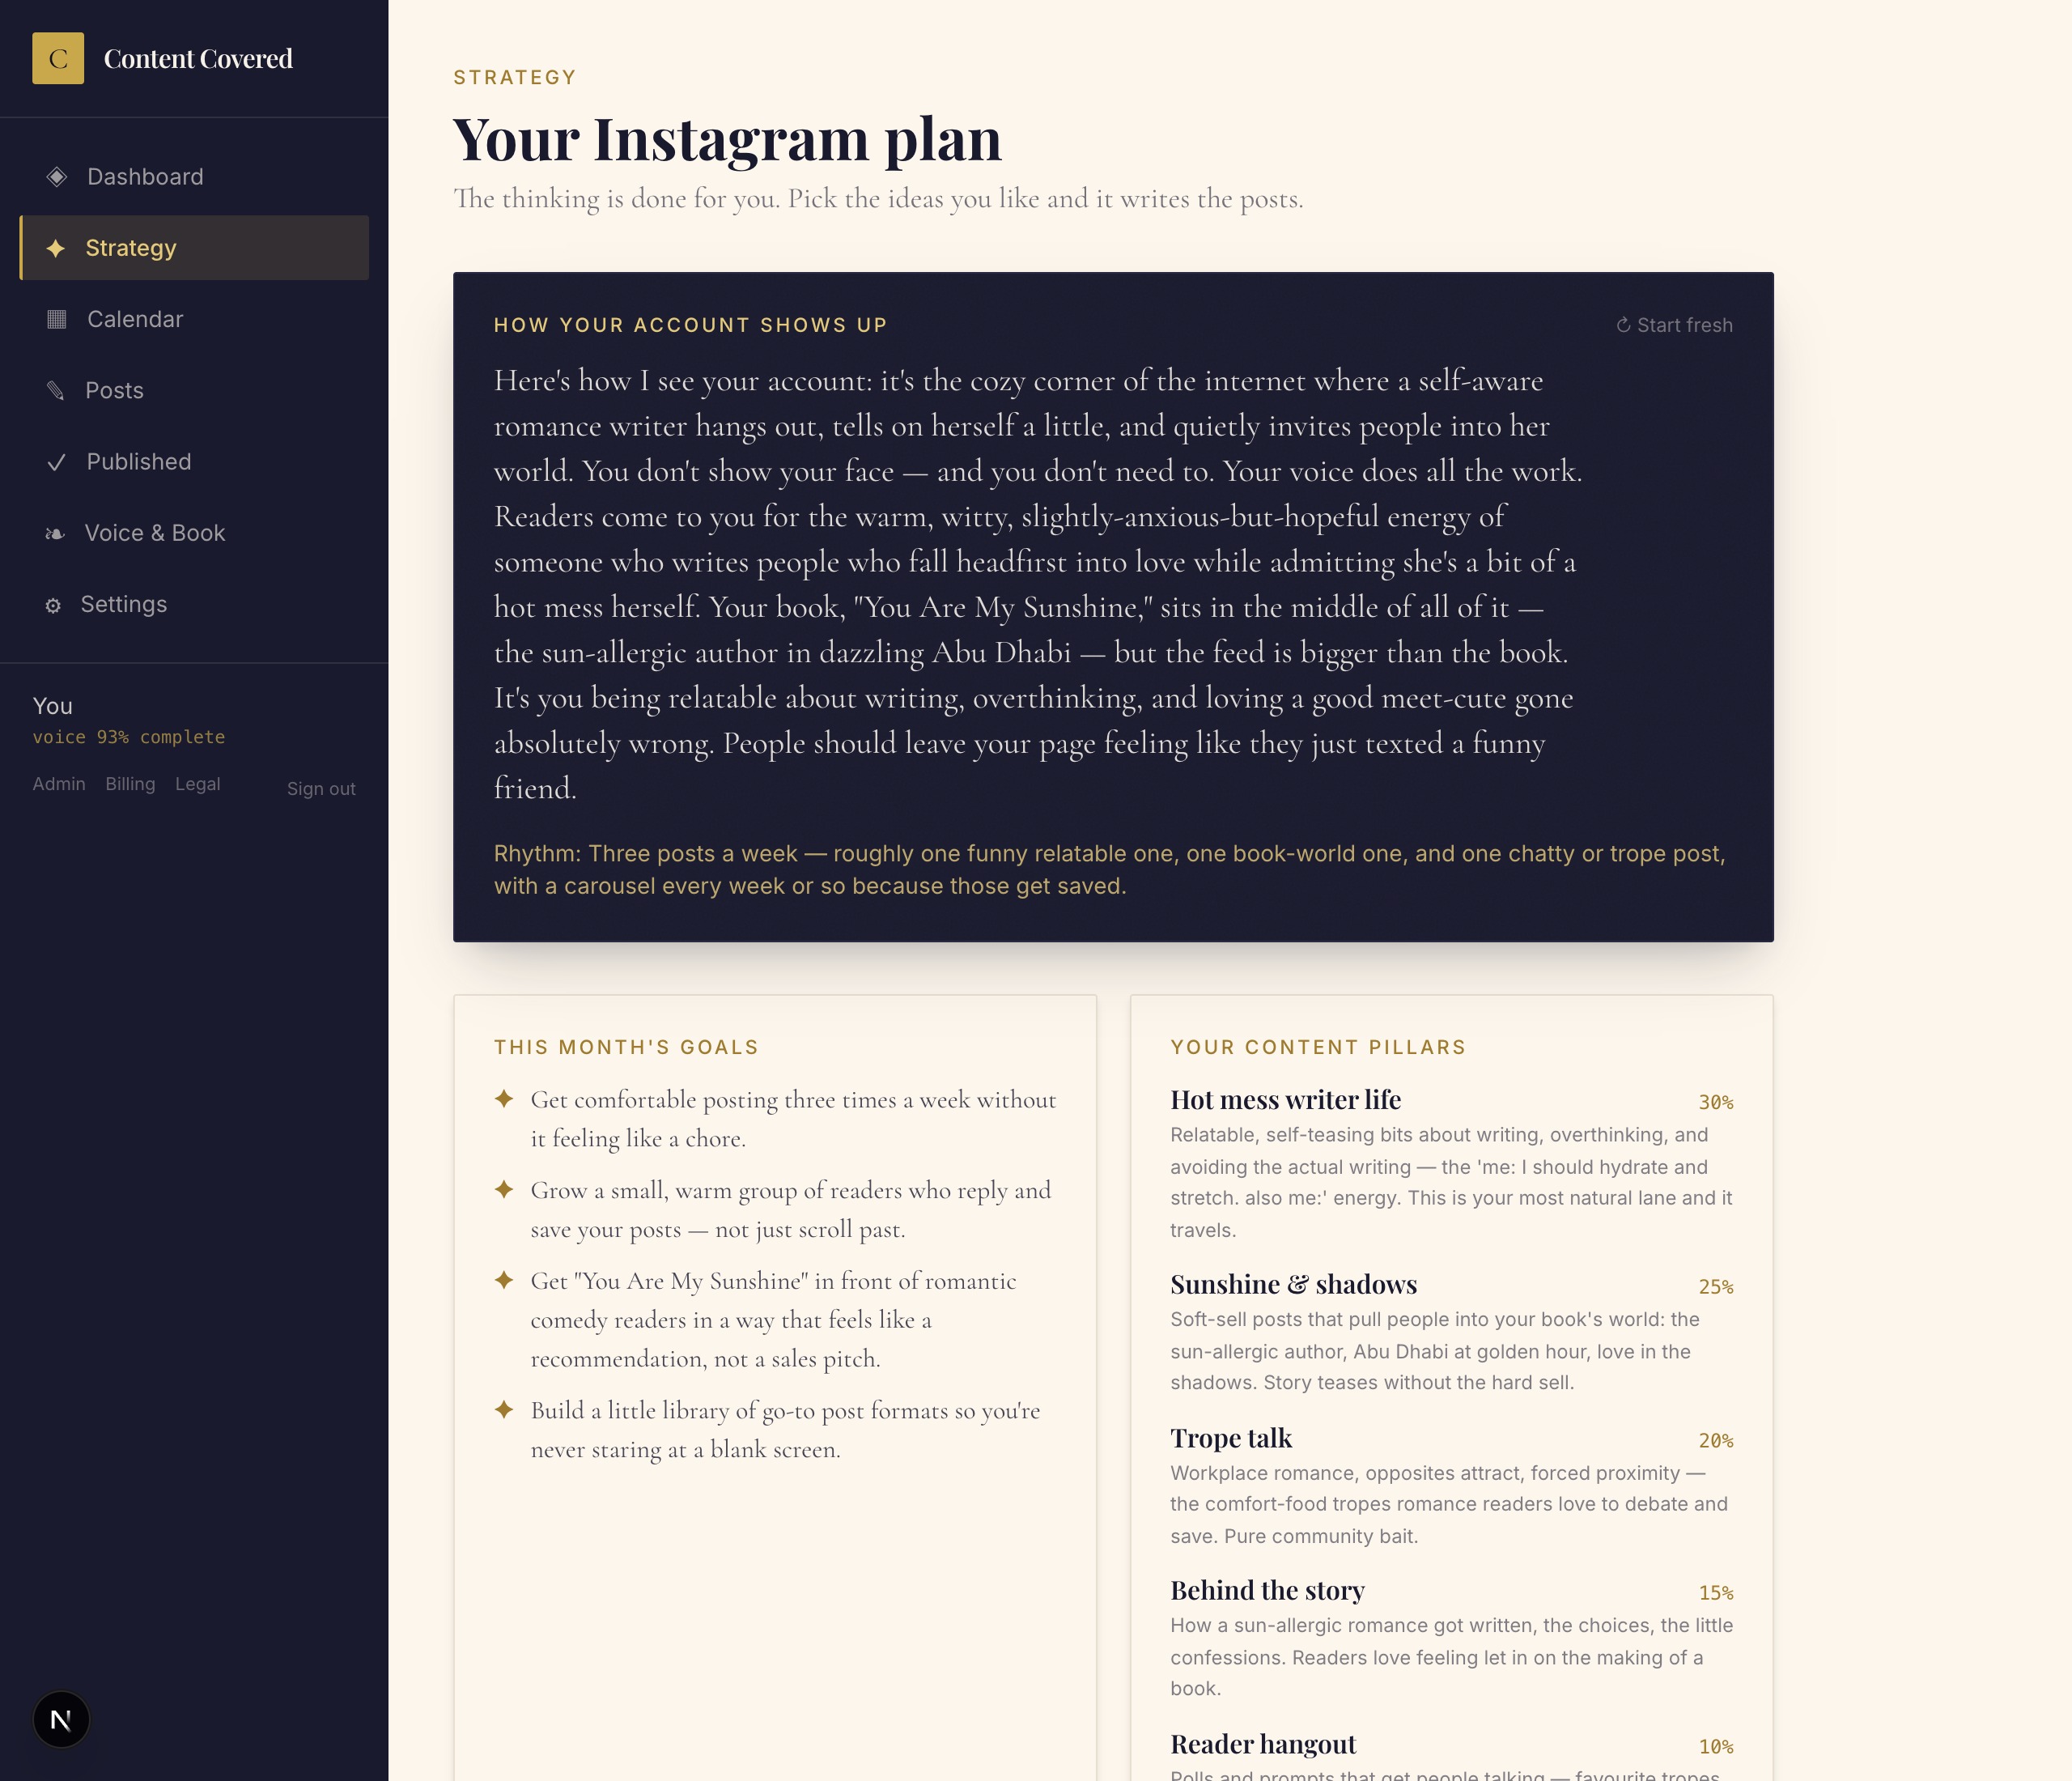
The thinking is done for you. One click writes a real plan for your account — no brainstorming required.
Your strategy lays out:
- How your account shows up — your positioning, in plain language.
- Your content pillars— the handful of themes you'll post around, and how much of each.
- Your posting rhythm and a two-week calendar of ideas.
Pick the ideas you like and it writes the full posts — captions and visuals. Focus shifted? Refresh or refill it anytime.
Your few minutes a week
Review & approve your posts
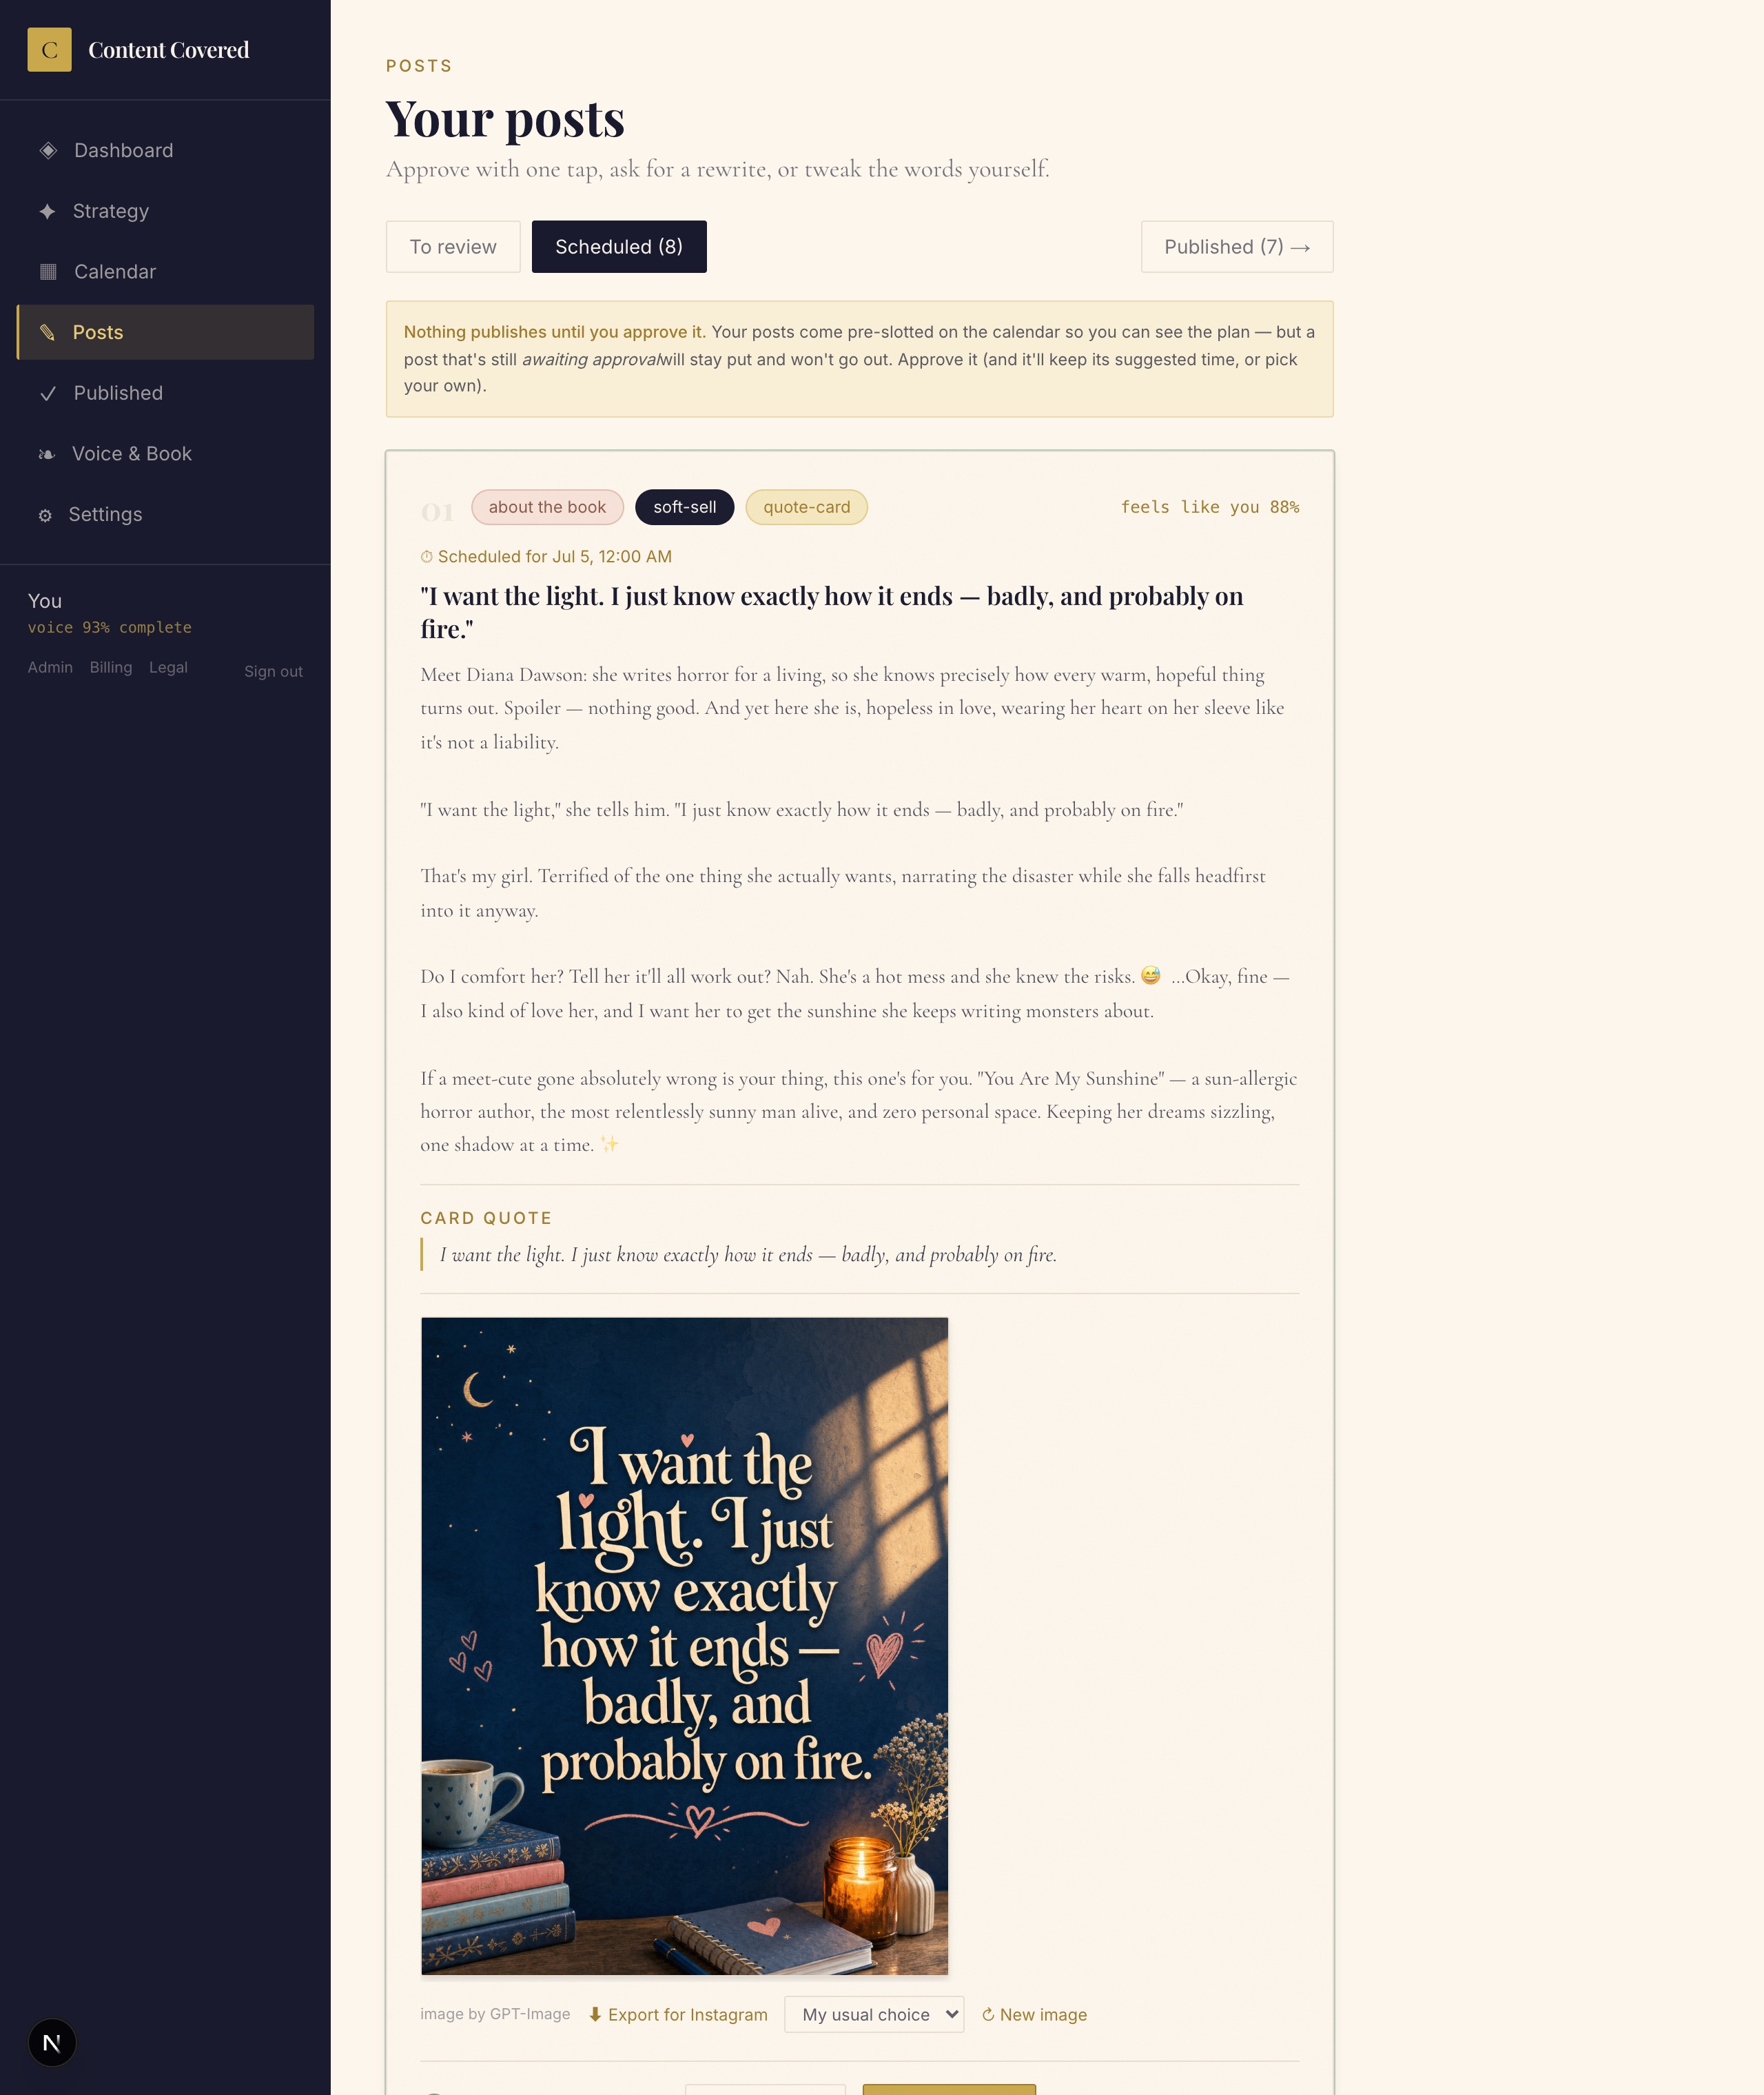
Every post lands on the Posts page as a draft for you to look over. This is where you'll spend your time — and it's quick.
What's on a post:the labels tell you the post at a glance — “about the book” vs “general”, its content pillar, and its format (quote card, carousel, reel, poll…). “Feels like you” estimates how on-voice it is. The caption, any reel script or carousel slides, and the generated image all sit together. Images create themselves and stream in (about 30–60s each — that's normal, not a glitch).
Your choices on every post:
- Approve & schedule — one tap. It keeps its suggested time, or you can set your own.
- Rewrite — tell it what to change (“funnier”, “shorter”, “lean into the grumpy hero”) and it rewrites in your voice.
- Edit myself — tweak the hook or caption by hand.
- Delete— remove a post you don't want for good.
Reels: for reel posts you can record a quick voiceover and it builds the video, or build it silent and add trending audio when you post it on Instagram.
Nothing publishes until you approve it. Posts come pre-slotted on your calendar so you can see the plan, but anything still awaiting approvalstays put and won't go out. The last tap is always yours.
Publishing
Connect your Instagram
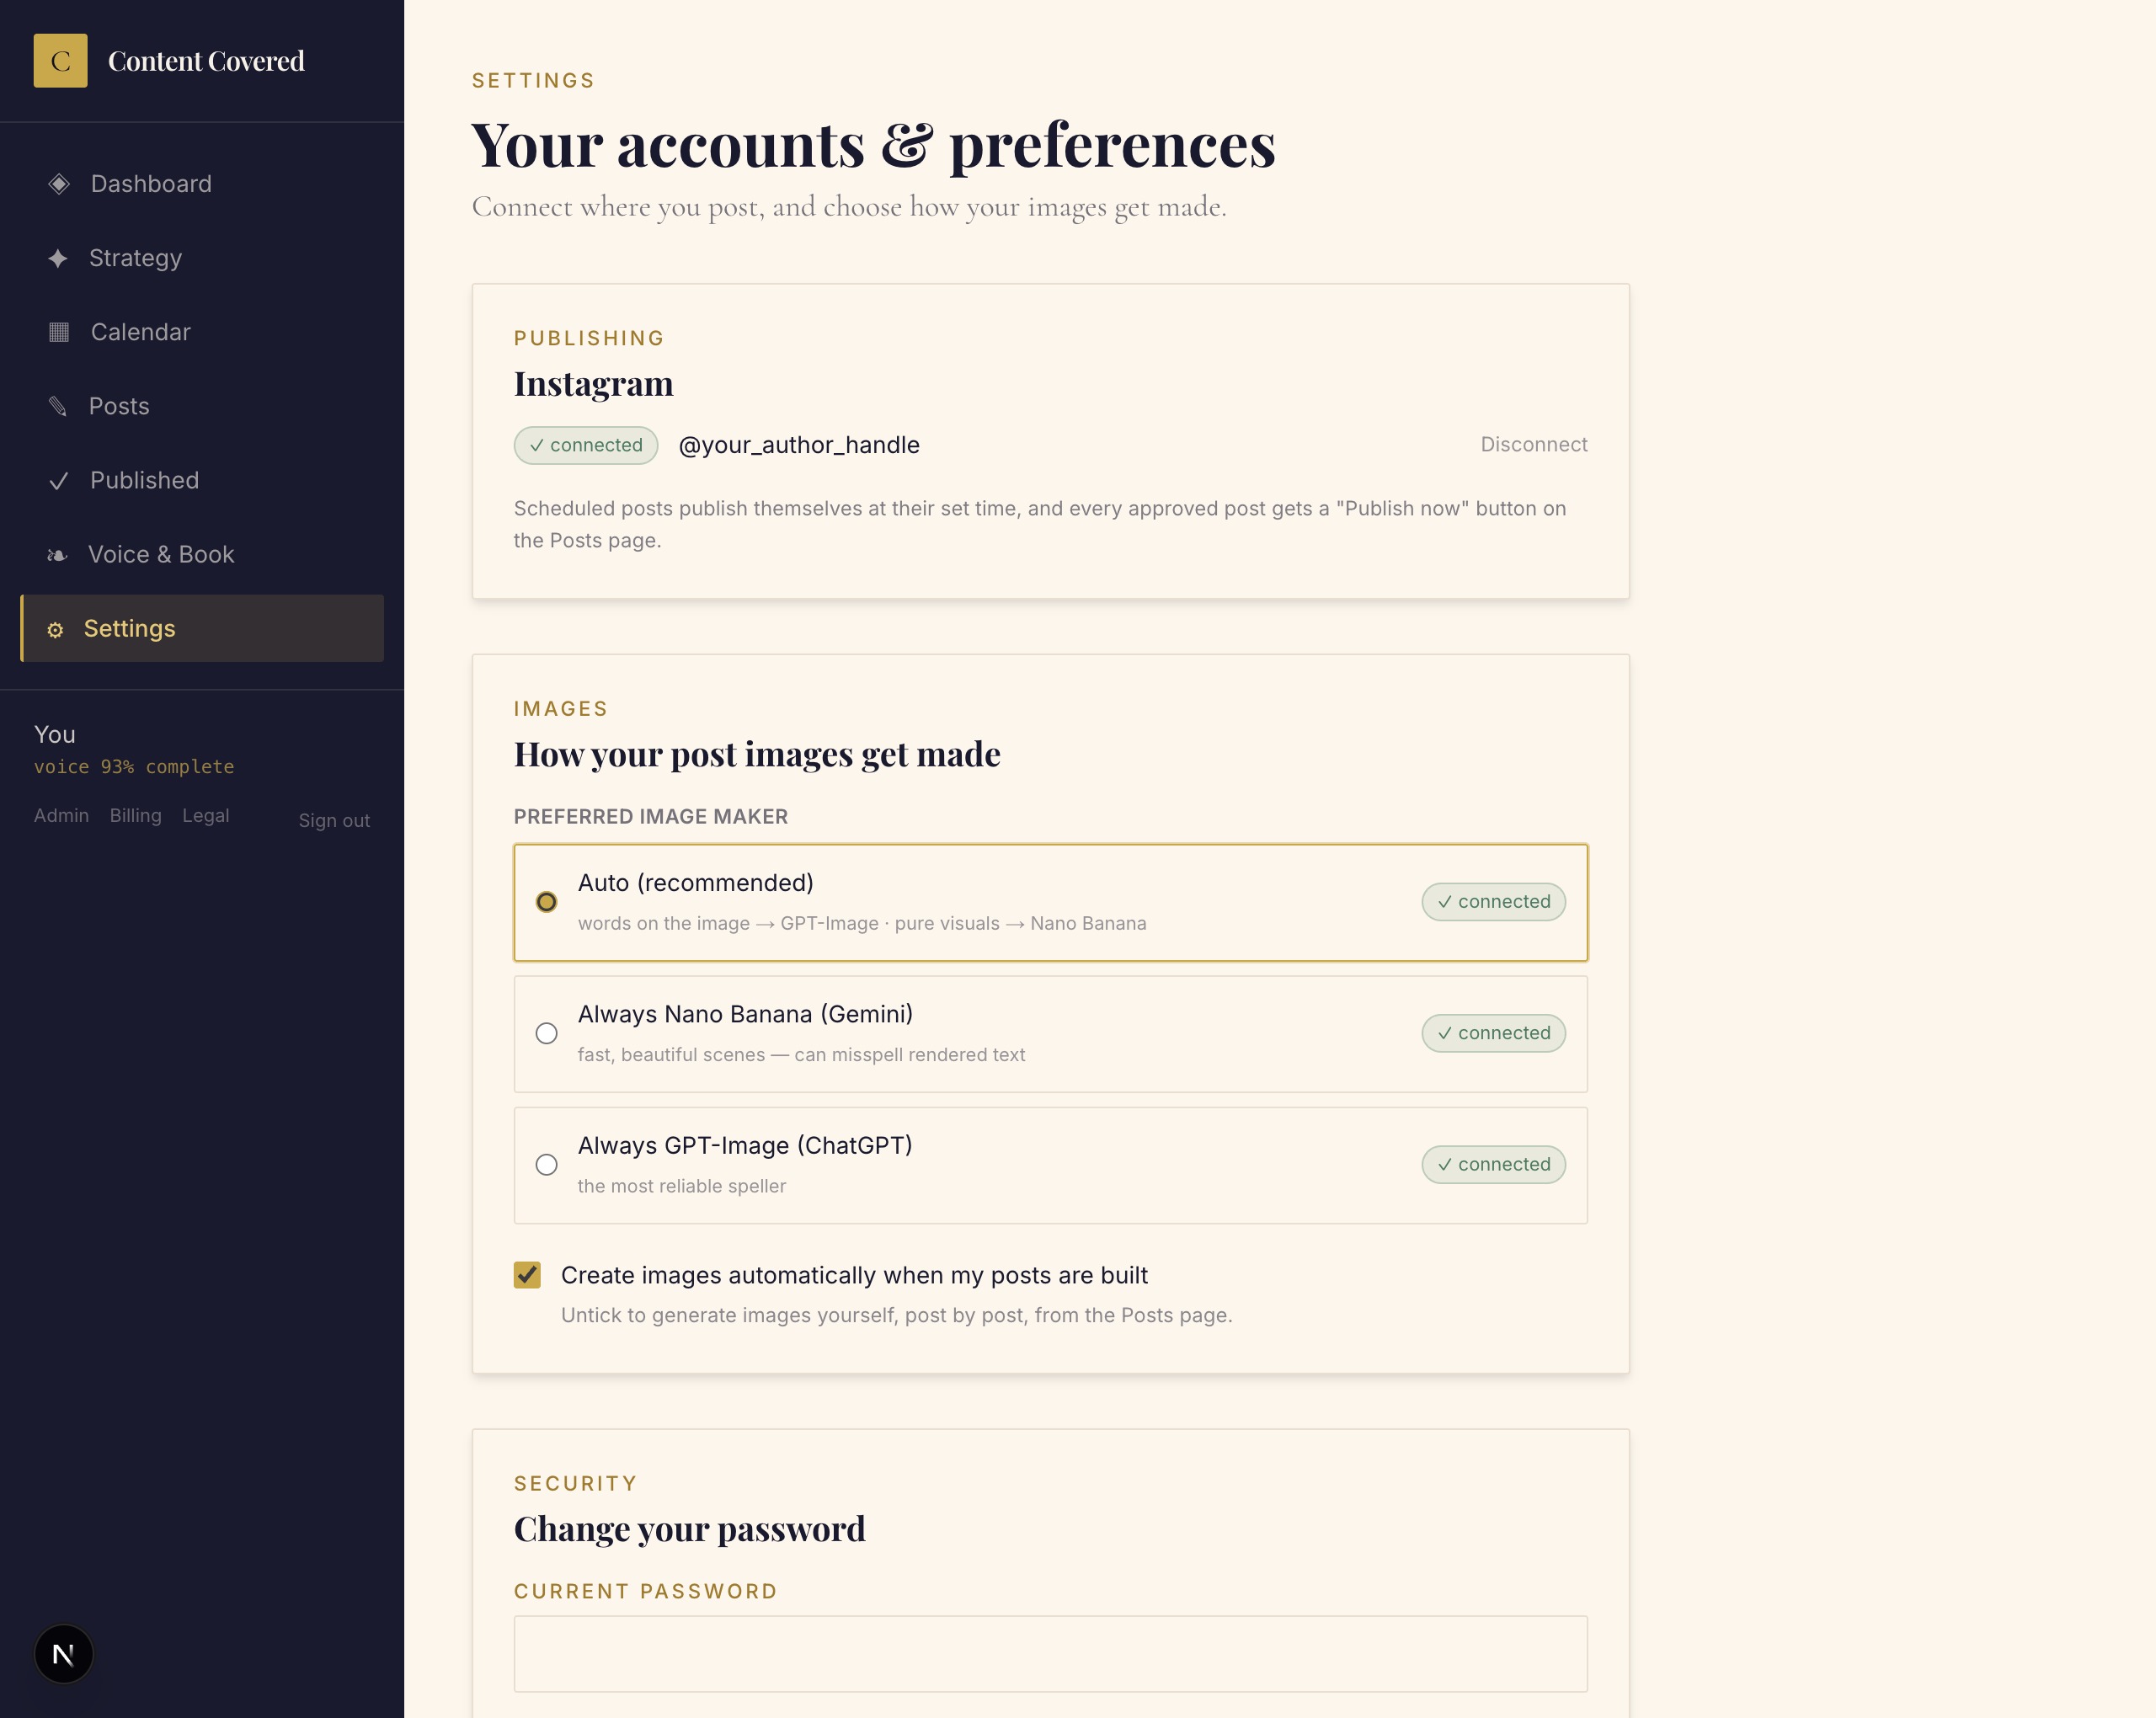
Connect once and your approved posts publish themselves. Go to Settings → Instagram → “Connect my Instagram.”
- Make sure you have an Instagram professional account— Business or Creator. Switching is free and instant in Instagram's own settings (Settings → Account type and tools), and Creator is perfect for authors.
- Tap “Connect my Instagram.” A secure sign-in opens — log in to Instagram and approve.
- You land back here already connected. The card shows ✓ connected and your handle.
Once you're connected: scheduled posts go out automatically at their set time, and every approved post also gets a “Publish now”button. The connection keeps itself fresh, so it won't keep dropping — if it ever shows “expired”, just tap Reconnect.
Not ready to connect? Every post has an ⬇ Export for Instagrambutton that downloads the image(s) and caption so you can post by hand. Nothing is ever lost — connect whenever you're ready.
Scheduling
Schedule & your calendar
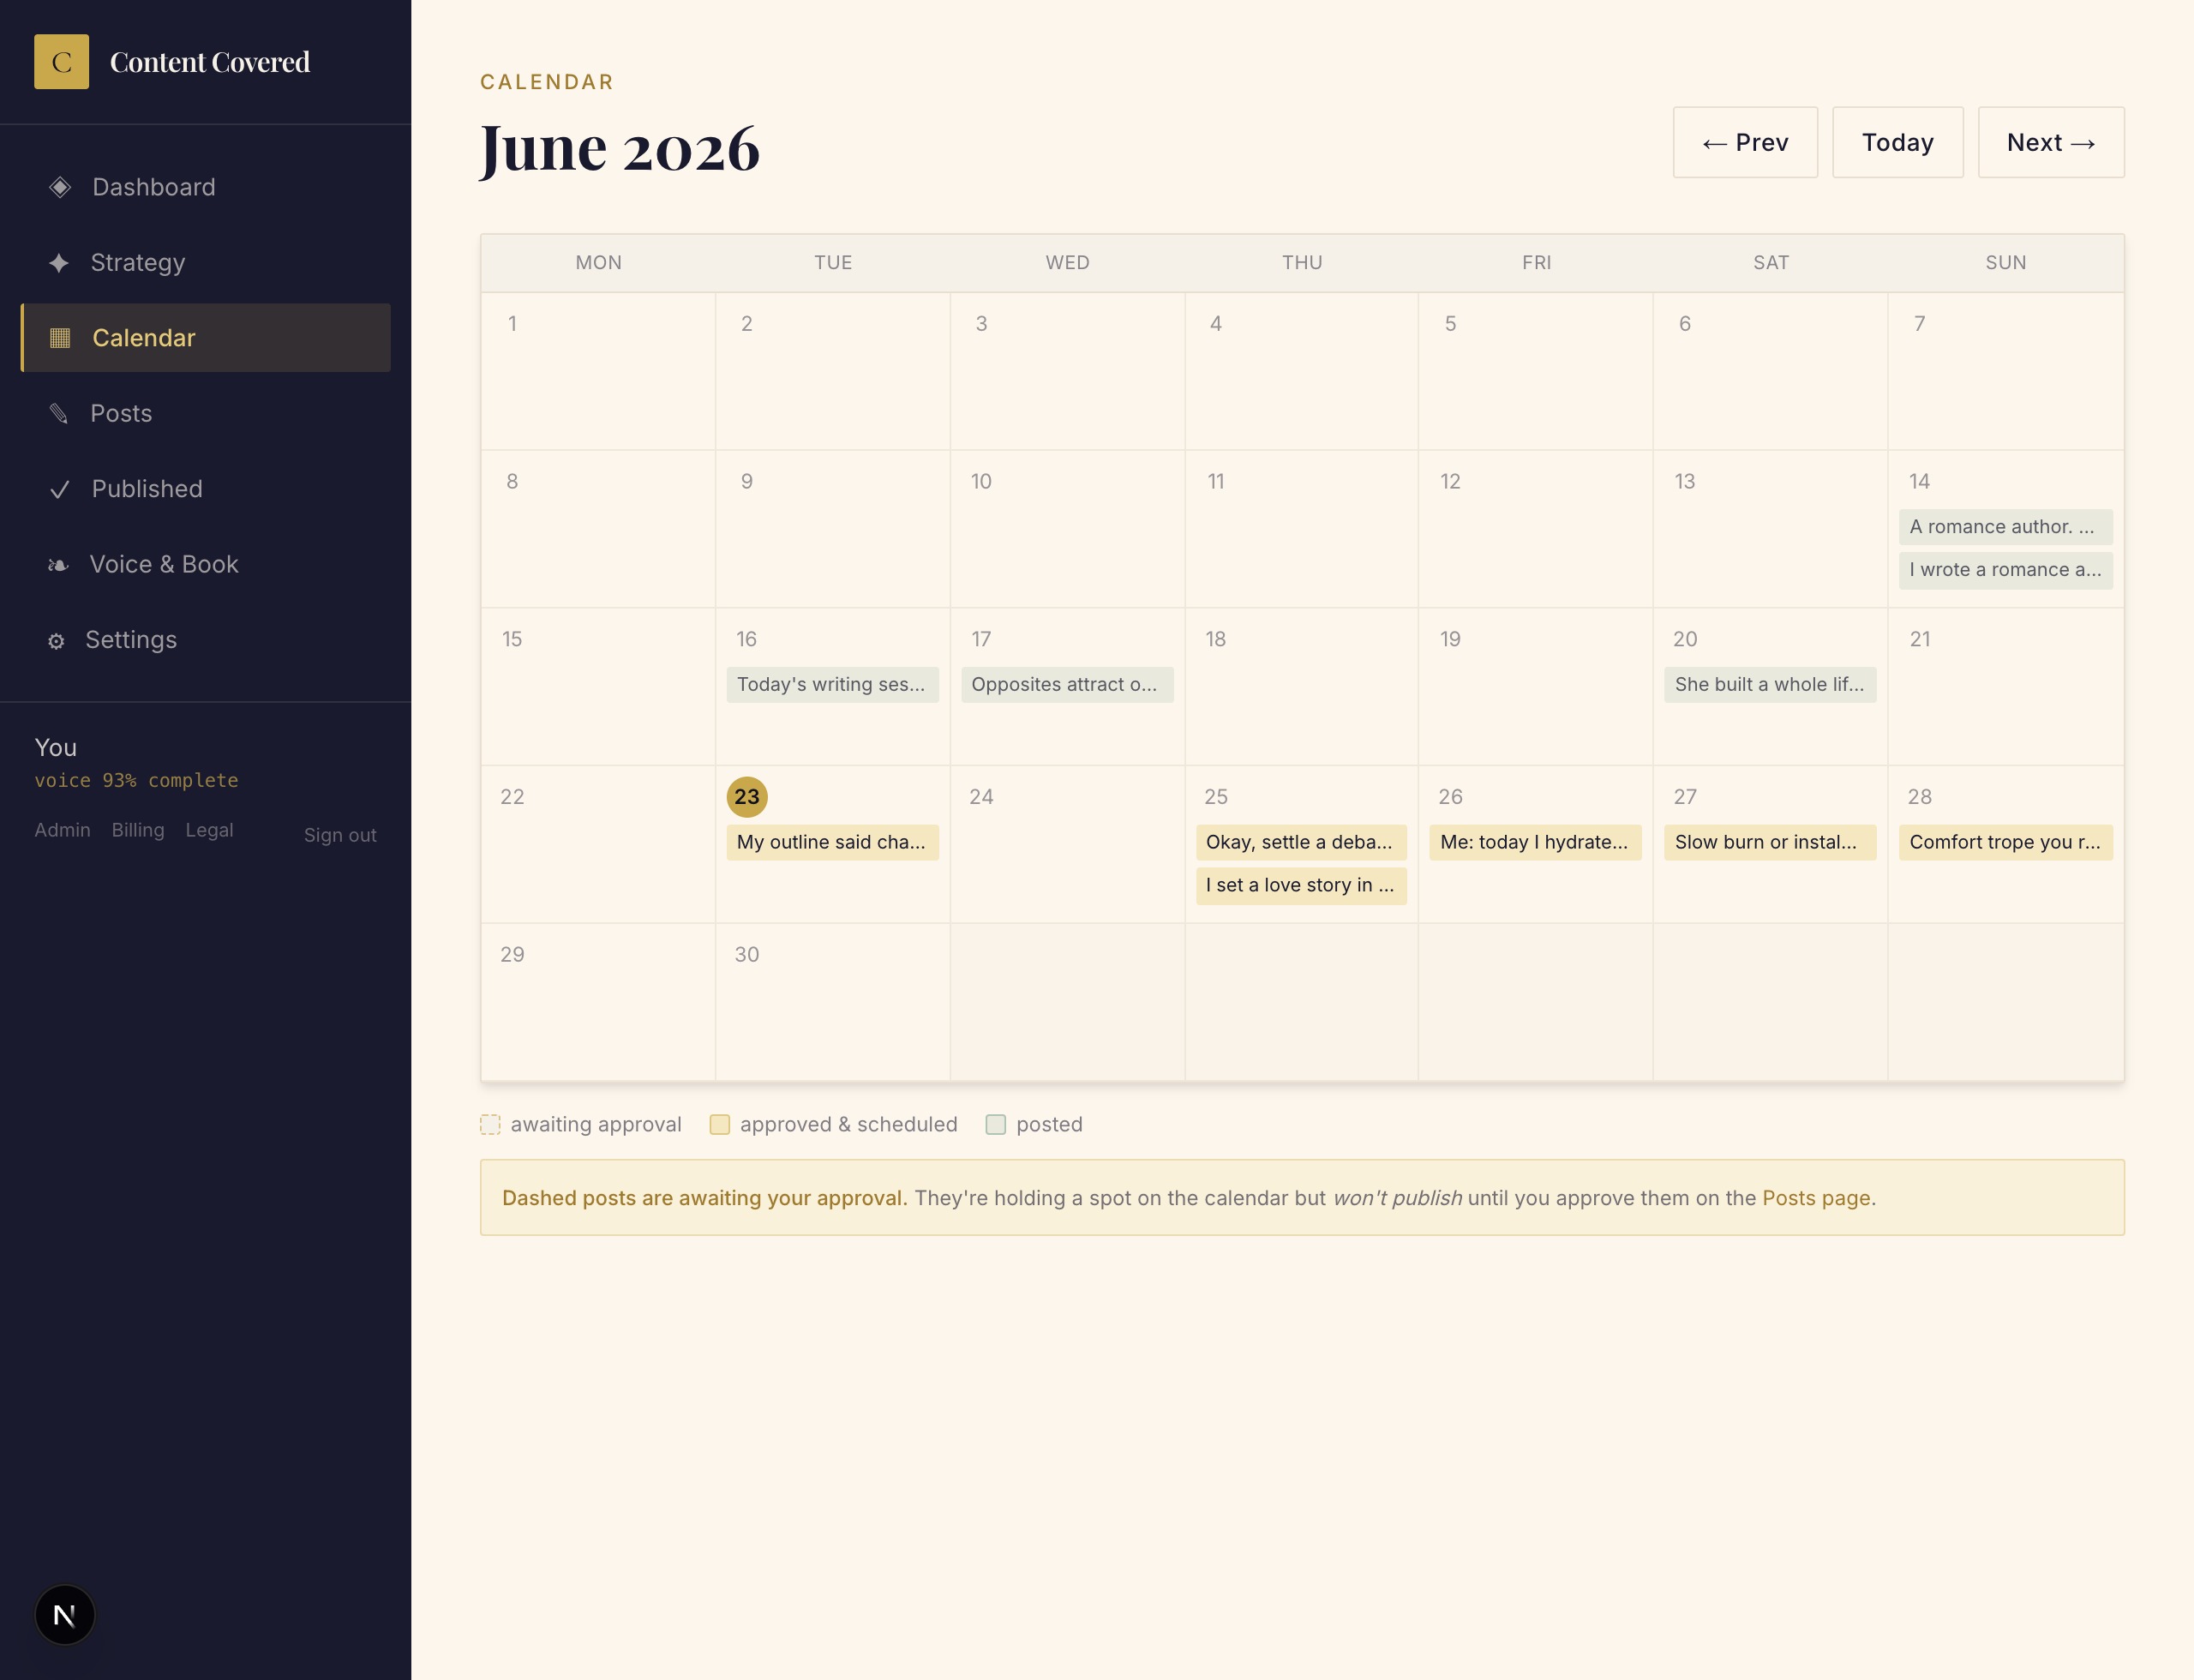
The calendar shows your whole plan in one view, so you always know what's going out and when.
Reading the calendar:
- Dashed= awaiting your approval (won't publish yet) · gold= approved & scheduled · green = posted.
- Posts arrive pre-slotted at sensible times. To change a time, open the post and tap Schedule / Reschedule.
- Anything without a time yet appears under “Not on the calendar yet” — give it a slot from there.
- Tap any post on the calendar to jump straight to it.
Your feed
Your published feed
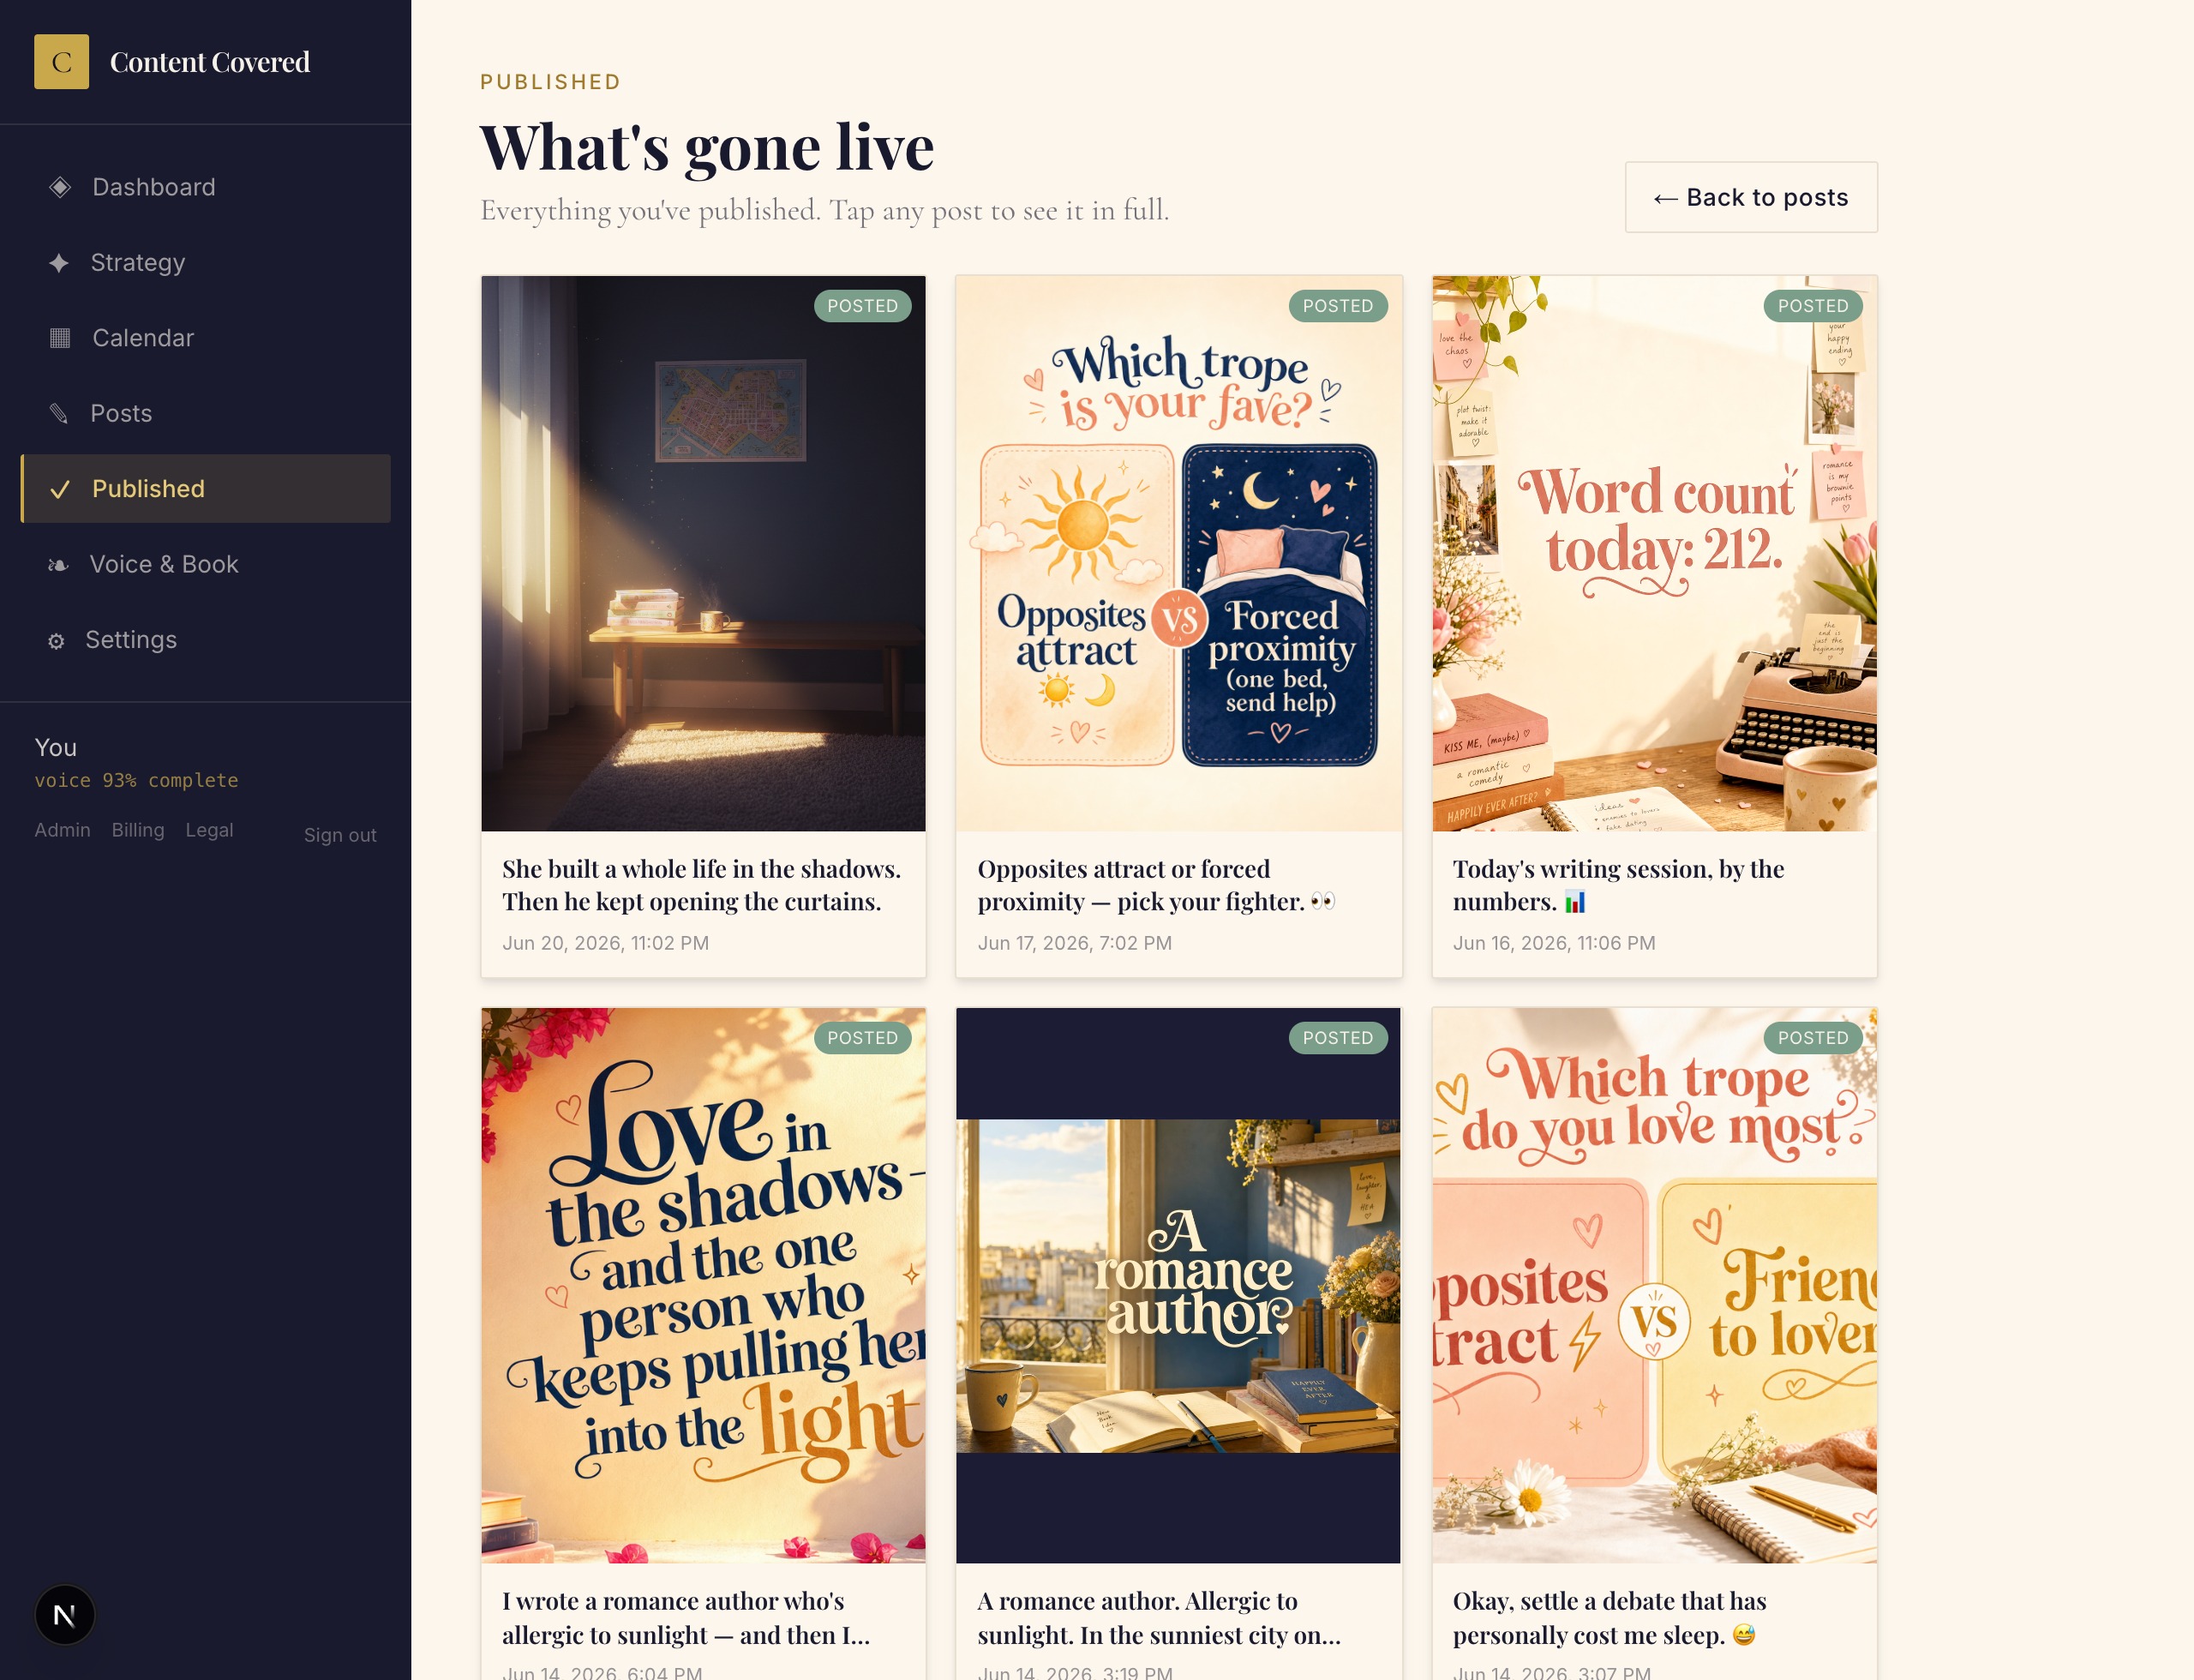
The Published page is a gallery of everything that's gone live, newest first.
Every post you've sent out collects here with its image. Tap any one to open it on Instagram. It's a lovely way to see your feed taking shape without leaving the app.
The rest
Account, images & billing
A few housekeeping bits, all a click or two away.
- Images— in Settings → “How your post images get made”, choose your preferred image maker (Auto is recommended), or switch off automatic image creation if you'd rather make them yourself, post by post.
- Password — change it in Settings → “Change your password”. Forgot it? Use “Forgot password?” on the sign-in screen.
- Billing — find Billing in the sidebar (bottom-left). Manage or cancel your subscription anytime through the secure self-serve portal — no emailing anyone.
Need a hand?
The FAQ answers the most common questions, and a real person is only an email away. We'd rather hear from you than have you stuck.